
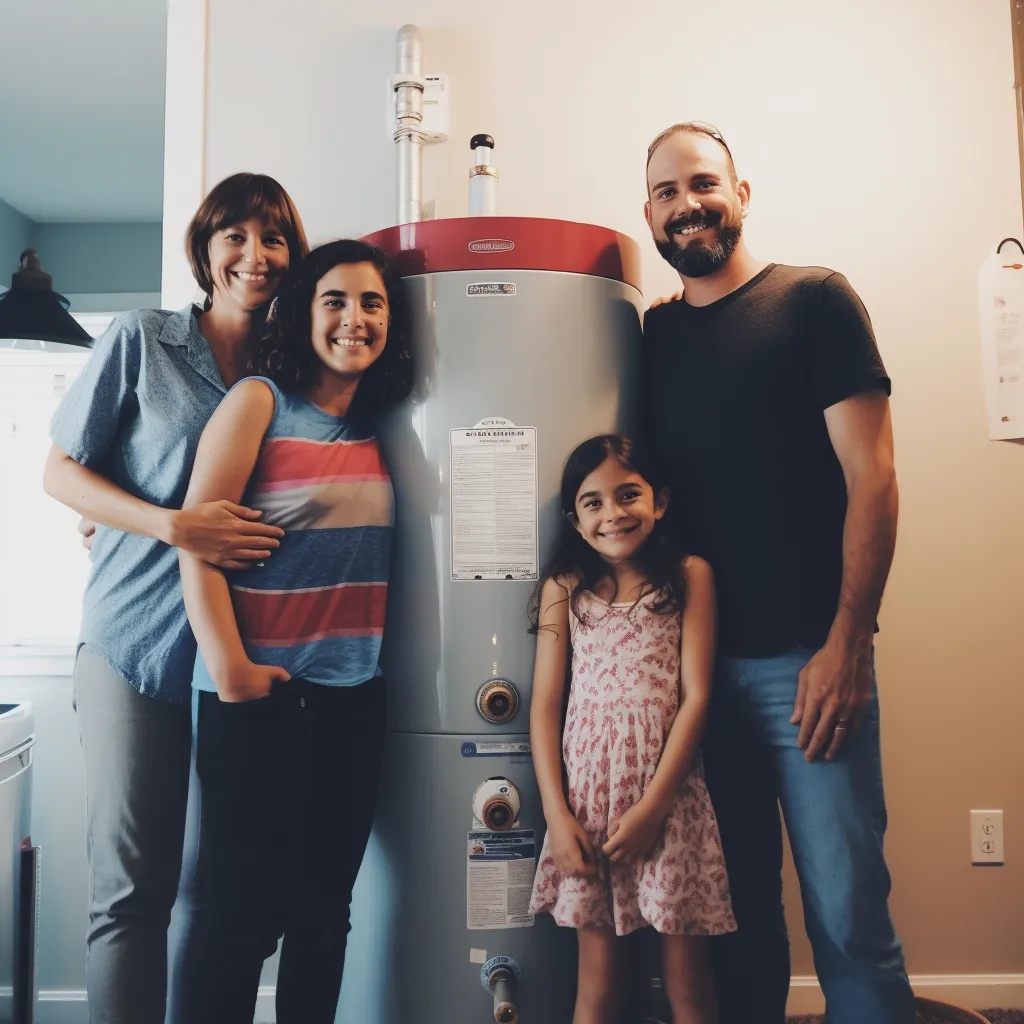
Professional Water Heater Installation in Concord, NH

Trust EMR Plumbing and Heating's expert team to handle all of your water heater installation needs in Concord and surrounding communities. With decades of combined experience, our licensed plumbers provide reliable, efficient, and safe water heater installation services for both residential and commercial properties.
Specialized Water Heater Installation Services
Traditional Tank Water Heater Installation
Our skilled technicians specialize in installing all major brands of tank water heaters. We help you select the perfect size and efficiency rating based on your household's specific needs and usage patterns. Our installation process includes proper sizing, careful removal of your old
unit, and expert installation with minimal disruption to your home.
Tankless Water Heater Installation
EMR Plumbing and Heating offers comprehensive tankless water heater installation services. Our experts will assess your home's plumbing infrastructure and recommend the most efficient tankless system for your needs. We handle everything from gas line modifications to venting requirements, ensuring a seamless transition to endless hot water.
Heat Pump Water Heater Installation
For environmentally conscious homeowners, we provide heat pump water heater installation services. These energy-efficient units can reduce your water heating costs by up to 60%. Our team evaluates your space requirements and ensures proper installation for optimal performance.
Enhanced Installation Services And Features
Comprehensive System Assessment
1. Detailed evaluation of your current water heating system.
2. Analysis of your household's hot water demands.
3. Energy efficiency recommendations.
4. Cost-benefit analysis of different water heater types.
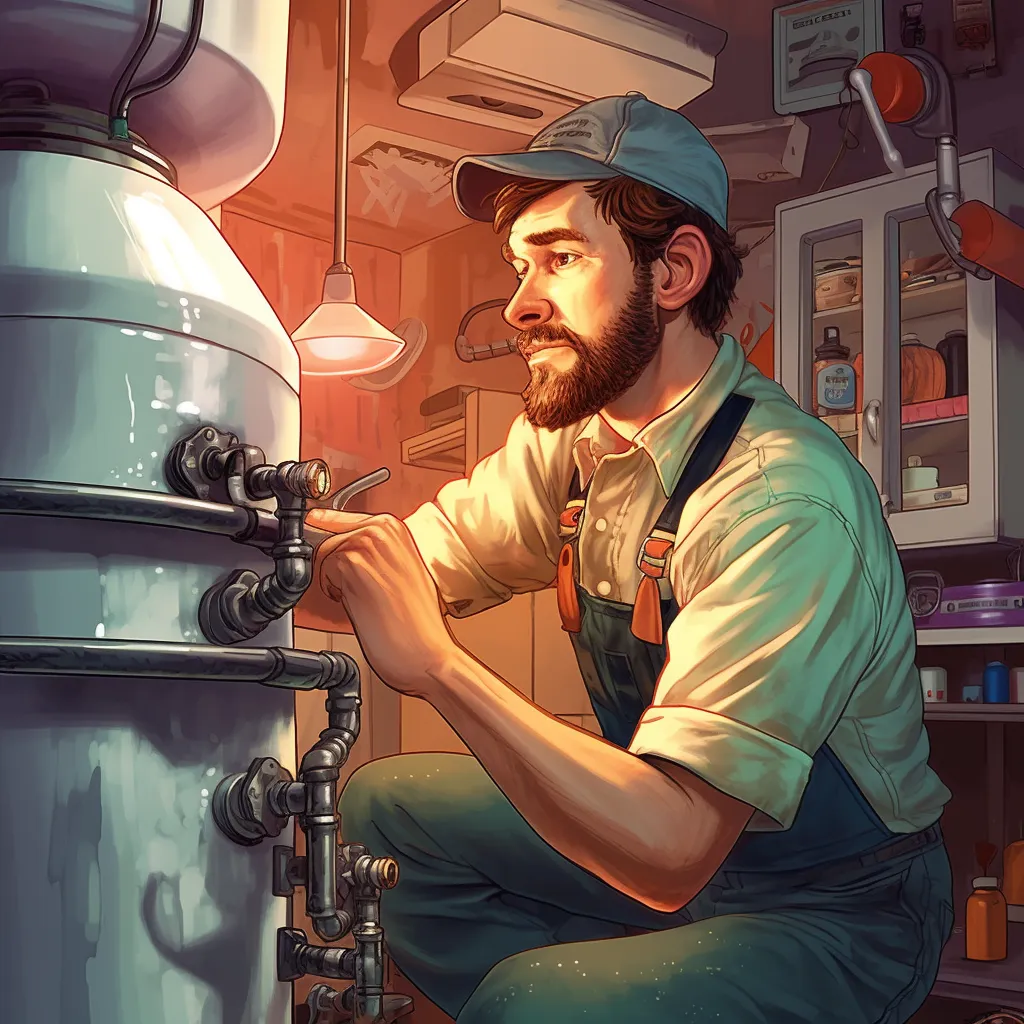
Professional Installation Process
1. Removal and disposal of old water heater.
2. Installation of new unit following manufacturer specifications.
3. Testing of all safety features and controls.
4. Final inspection and performance verification.
5. Complete system documentation and warranty registration.
Emergency Installation Services
Available 24/7 for urgent water heater failures, our emergency team provides rapid response and same-day installation when possible to minimize disruption to your daily routine.
Common Water Heater Emergencies in Concord
Sudden Water Heater Failure
Many Concord homeowners have experienced complete water heater failure during the harsh New England winters. EMR Plumbing and Heating responds quickly to prevent frozen pipes and ensure your family stays comfortable.
Leaking Tank Emergencies
We've helped numerous customers who discovered water pooling around their water heater, preventing potential flooding and water damage through immediate response and installation.
Insufficient Hot Water
Families frequently contact us when their water heater can no longer meet their hot water demands. Our team provides quick solutions with properly sized replacement units.
Our Process For Water Heater Installation And Replacement
Step 1: Assess Your Needs and Select the Perfect Water Heater
Before diving into the installation process, the first and most crucial step is to assess your hot water needs and choose the right water heater. Here are key factors to consider:
Capacity: Determine the appropriate water heater size based on your household's size and hot water usage. Typically, a family of four requires a 40 to 50-gallon tank.
Fuel Type: Choose between gas, electric, or tankless water heaters. Gas heaters are energy-efficient but require a gas supply, electric heaters are easy to install and suitable for smaller households, and tankless heaters provide on-demand hot water but may come with a higher upfront cost.
Energy Efficiency: Opt for water heaters with high Energy Factor (EF) ratings to save on energy bills over time. Energy Star certified models are a wise choice for efficiency.
Location: Consider the available space for your new water heater and ensure it complies with local building codes.
Budget: Determine your budget, including the unit cost, installation, and any additional components.
Brand and Warranty: Research reputable brands and select a water heater with a substantial warranty for peace of mind.
Step 2: Gather the Necessary Tools and Materials
Before you begin the installation process, make sure you have all the required tools and materials ready. Here's a checklist:
New Water Heater: Ensure it matches your selected specifications. Wrenches and Pliers: For disconnecting old plumbing connections.
Pipe Cutter: To cut and prepare new pipes if necessary.
Pipe Thread Sealant: For securing connections and preventing leaks.
Gas Line or Electrical Wiring: Depending on your unit, ensure you have the necessary connections.
Teflon Tape: To seal threaded connections. Pipe Fittings: If your plumbing requires modifications.
Bucket and Towels: To catch any water or debris during the removal process.
Step 3: Shut Off Utilities and Drain the Old Water Heater
Before removing the old water heater, follow these steps to ensure a safe disconnection:
Gas Water Heater: Turn off the gas supply valve. Electric Water Heater: Switch off the power at the circuit breaker.
Water Supply: Shut off the cold water supply valve.
Pressure Relief Valve: Open the pressure relief valve to release any pressure and prevent accidents.
Drain Valve: Connect a garden hose to the drain valve and direct it to a suitable drainage location. Open the valve to empty the tank.
Step 4: Disconnect and Remove the Old Water Heater
Now that your old water heater is empty and utilities are disconnected, it's time to remove it:
Disconnect Plumbing: Use wrenches and pliers to disconnect the hot and cold water pipes.
Disconnect Gas Line: If applicable, disconnect the gas line using a wrench.
Disconnect Electrical Wiring: If you have an electric water heater, disconnect the wiring carefully.
Remove Old Unit: With all connections detached, carefully remove the old water heater from its location.
Step 5: Prepare for the New Water Heater
Before installing the new water heater, ensure the installation area is ready:
Clear Space: Remove any debris or obstacles from the installation area.
Platform or Stand: Place the new unit on a stable platform or stand if required.
T&P Valve: Install a new temperature and pressure relief valve if necessary.
Step 6: Install the New Water Heater
Now, it's time to install your new water heater:
Positioning: Carefully position the new unit in the desired location.
Connect Plumbing: Reconnect the hot and cold water pipes using pipe thread sealant.
Connect Gas Line or Electrical Wiring: Depending on the unit, connect the gas line or electrical wiring.
Tighten Connections: Use wrenches and pliers to ensure all connections are secure.
Ventilation: Ensure proper ventilation for gas water heaters, following local building codes.
Fill the Tank: Open the cold water supply valve and allow the tank to fill completely.
Check for Leaks: Inspect all connections for leaks and address them immediately if found.
Step 7: Reconnect Utilities and Test
With the new water heater in place, it's time to reconnect utilities and test the unit:
Gas Water Heater: Turn on the gas supply and follow the manufacturer's instructions for lighting the pilot.
Electric Water Heater: Restore power at the circuit breaker.
Water Supply: Fully open the cold water supply valve.
Pressure Relief Valve: Close the pressure relief valve when water flows steadily from it.
Check for Leaks: Once again, inspect all connections for leaks.
Step 8: Set the Temperature and Adjust as Needed
Temperature Setting: Adjust the water heater's temperature to your desired level, typically between 120°F and 140°F. Wait for Hot Water: Be patient, as it may take some time for the water heater to heat up the water.
Flush Tank: Periodically flush the tank to remove sediment and maintain efficiency.
Step 9: Regular Maintenance for a Long Lifespan
Now that your new water heater is installed, it's crucial to perform regular maintenance to extend its lifespan and ensure efficient operation. Here's what you should do:
Flush the tank annually to remove sediment buildup: This helps maintain heating efficiency and prevents corrosion.
Test the temperature and pressure relief valve by lifting the lever once a year to ensure it's functioning correctly.
Inspect the anode rod every two to three years and replace it if heavily corroded. The anode rod helps prevent rust inside the tank.
Regularly check for any signs of leaks, corrosion, or unusual noises: Address any issues promptly to prevent major problems. Consider installing a water softener if you have hard water, as this can reduce mineral buildup in the tank.
Replacing a residential water heater involves several steps, from selecting the right unit to proper installation. By carefully assessing your needs, choosing the appropriate type and size of water heater, and following the installation steps, you can ensure a successful replacement project in Concord.
Moreover, don't underestimate the importance of regular maintenance in prolonging the lifespan of your water heater. Performing annual maintenance tasks and addressing any issues promptly will help you enjoy reliable hot water for years to come while minimizing the risk of costly repairs or replacements.
Remember, a well-maintained water heater not only saves you money on energy bills but also contributes to the comfort and convenience of your home. So, take the time to care for your water heater, and it will reward you with reliable hot water for years to come.
Why Choose EMR Plumbing and Heating?
Local Expertise
Our team at EMR Plumbing and Heating understands Concord's unique climate challenges and local building codes, ensuring your water heater installation meets all
requirements.
Licensed and Insured
All our technicians are fully licensed, insured, and factory-trained in the latest water heater technologies.
Warranty Protection
We offer comprehensive warranty coverage on both parts and labor, protecting your investment for years to come.
Transparent Pricing
Receive upfront pricing with no hidden fees or surprises. We provide detailed written estimates before beginning any work.
Contact Our Experienced Team For Your Water Heater Needs
Don't wait for your water heater to fail! Contact EMR Plumbing and Heating today for a free consultation and estimate. Our expert team is ready to help you choose and install the perfect water heater for your Concord home.
Frequently Asked Questions
Q. How long does a water heater installation typically take?
A.Most standard installations can be completed in 2-4 hours. Complex installations or system upgrades may take longer.
Q. Do you handle permits and inspections?
A. Yes, EMR Plumbing and Heating manages all necessary permits and coordinates required inspections with local authorities.
Q. What brands do you install?
A. We install all major water heater brands, including Bradford White, Rheem, Navien, and Rinnai. Learn more about water heater efficiency ratings with the Department of Energy's Water Heating Guide. (1)
Q. Do you offer financing options?
A. Yes, we provide flexible financing options to help make your water heater installation more affordable.
Q. How do I know if I need a new water heater?
A. If your unit is over 10 years old, showing signs of rust or corrosion, making unusual noises, or not providing consistent hot water, it's time for a replacement consultation.
Ready to Solve Your Plumbing Needs?
For reliable, expert plumbing services tailored to the needs of Concord and its neighboring cities, look no further than EMR Plumbing and Heating. We’re here for you 24/7, ensuring that your plumbing is always in top condition.
Call us today to schedule your service!
Business Hours: Monday - Sunday, 24 Hours
Phone Number: (603) 634-8285
Location: Concord, N.H., serving all surrounding areas.
Trust your local experts at EMR Plumbing and Heating for professional, timely, and efficient plumbing solutions.
One of the most significant investments you can make in your home is a water heater replacement.
GET IN FULL TOUCH
PHONE: (603) 634-8285
EMAIL:
ryan@waterheaterconcord.com
EMR Plumbing and Heating
Concord, N.H. 03303